
Why buiding a solar generator? At some point in our lives, we all face power outages that can cause inconvenience and frustration. But what if I told you that there’s a way to generate your own electricity using the power of the sun?
Yes, you read that right! By building a solar generator, you can harness the energy of the sun and power your devices, even during a power outage.
In this guide, we will show you how to building a solar generator step-by-step, based on our own first-hand experience.
We’re not just solar experts, but we’re also passionate about sustainability and reducing our carbon footprint. So, let’s get started!
Step 1: Get the right materials
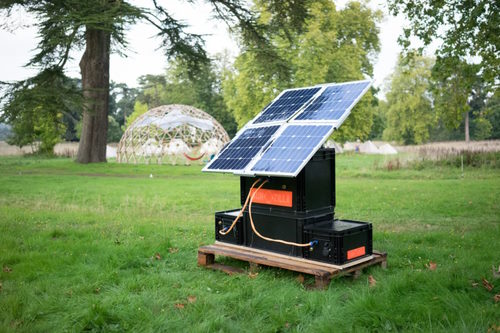
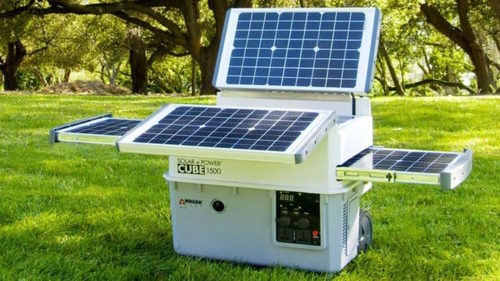
The first step in building a solar generator is to gather all the necessary materials. You will need a solar panel, a charge controller, a battery, an inverter, and some cables.
Make sure that you buy high-quality materials, as this will ensure the longevity and efficiency of your solar generator.
Step 2: Build the frame
Once you have all the materials, it’s time to build the frame for your solar panel. You can use wood or PVC pipes to create a sturdy frame that can withstand the weight of the solar panel.
Make sure that the frame is angled towards the sun, as this will maximize the energy output of your solar panel.
Step 3: Connect the solar panel to the charge controller
The next step is to connect the solar panel to the charge controller. The charge controller regulates the voltage and current coming from the solar panel, which protects the battery from overcharging or discharging.
Connect the positive and negative wires from the solar panel to the corresponding terminals on the charge controller.
Step 4: Connect the battery to the charge controller
Now, it’s time to connect the battery to the charge controller. Make sure that the battery is fully charged before connecting it to the charge controller.
Connect the positive and negative wires from the battery to the corresponding terminals on the charge controller.
Step 5: Connect the inverter to the battery
The inverter is responsible for converting the DC power from the battery into AC power, which can be used to power your devices.
Connect the positive and negative wires from the inverter to the corresponding terminals on the battery.
Step 6: Test your solar generator
Congratulations! You have just built your own solar generator. Now, it’s time to test it out. Connect your devices to the inverter and see if they are powered up.
If everything works as expected, you can now enjoy the benefits of having your own source of electricity.
Why Building a Solar Generator?
There are many reasons why you should consider building a solar generator. Here are just a few:
- Cost savings: By generating your own electricity, you can save money on your electricity bills.
- Sustainability: Solar power is a renewable and clean source of energy that reduces your carbon footprint.
- Emergency preparedness: A solar generator can be a lifesaver during a power outage, allowing you to power your devices and stay connected.
Conclusion
Building a solar generator is a fun and rewarding project that can save you money, reduce your carbon footprint, and provide peace of mind during a power outage.
By following our step-by-step guide, you can build your own solar generator and enjoy the benefits of having your own source of electricity.
Remember to use high-quality materials, angle your solar panel towards the sun, and test your solar generator before relying on it during an emergency. Happy building!
